MetaMask tutorial: Guide how to use the MetaMask Ethereum wallet
Last Updated on 6 November 2023 by CryptoTips.eu
MetaMask is simply a browser extension that functions as a cryptocurrency wallet. The application can hold deposits of Ethereum’s ETH, ERC-20 tokens and is also regularly used as a gateway to crypto apps like Aave and CryptoKitties.
The extension comes with convenience and safety for users who regularly transact on the Ethereum platform. Signing-up for the plugin follows a simple DIY process, as highlighted below.
Downloading the MetaMask Add-on
The major browsers that support the extension are Mozilla Firefox and Google Chrome. To download the official application, it’s advisable to visit MetaMask’s official website, sponsored by Ethereum incubator ConsenSys.
Warning! There are a lot of phishing websites and fake MetaMask apps which are trying to steal your funds. Make sure you use the official Metamask.io website and don’t use a search engine to find the website. Also never use the Chrome or Firefox store directly!
Apparently, A scammer try to phish Keystore or Private key using a fake Metamask(@metamask_io ) advertisement.
— 墨汁うまい(Bokujyuumai) (@bokujyuumai) April 26, 2020
Official : https://t.co/Plh8iaUj5O
Scam : Metamask,info#Metamask has already added it to the warning list but watch out if you a new#Ethereum #Scam #phishing $ETH pic.twitter.com/cmarabtDhf
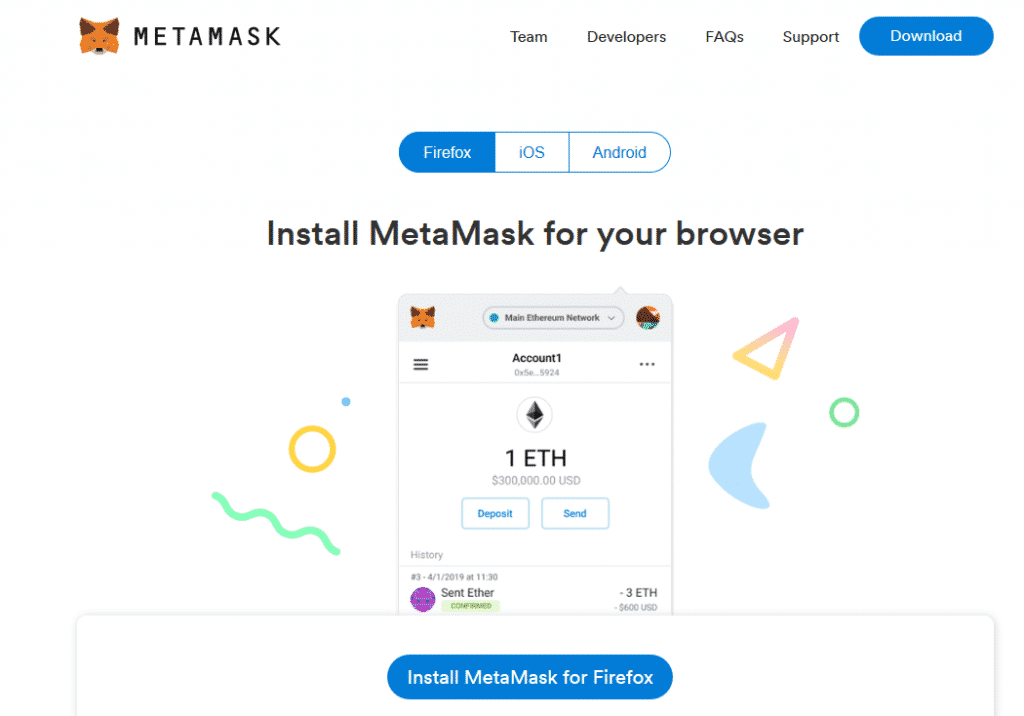
Once you click the download button, it prompts you to choose the kind of browser you are using. In my case, it is Mozilla Firefox, so I’ll click on the Install MetaMask for Firefox icon at the bottom of the page.
After clicking, the site directs you to the Firefox Add-on page. Now click on the Add to Firefox icon.
Once the application is successfully installed on your Firefox browser, an orange symbol of a fox is pinned on the top right side of the toolbar.
Getting Started with MetaMask
To start the sign-up process, click on the orange fox add-on on the toolbar. Hit the Get started button and then the Create a wallet bar to generate a new account and a unique seed phrase.
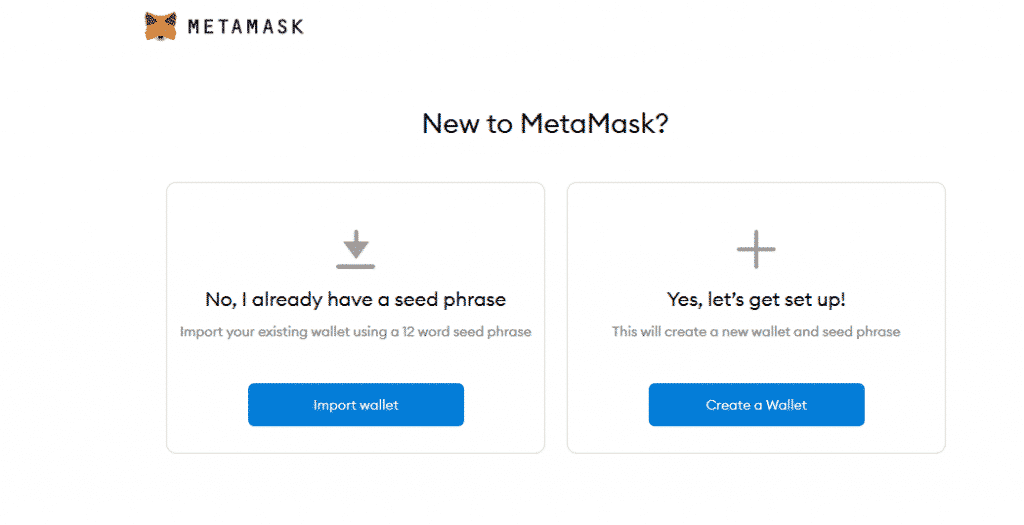
Follow the prompts until the display gives you two slots for password creation. The password should have a minimum of 8 characters. However, it is vital to choose a strong password, preferably one with alphabetic characters and numbers.
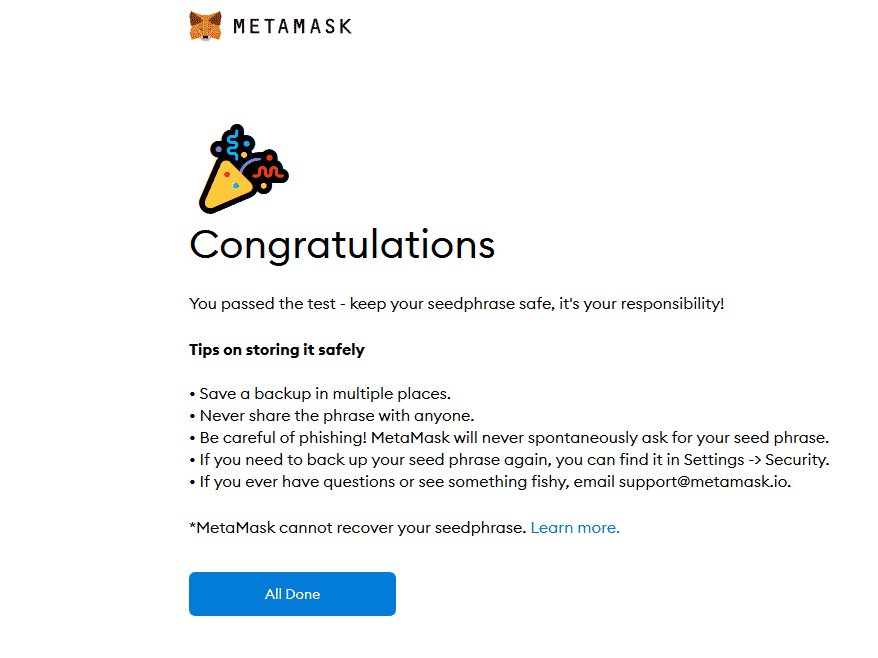
The secret back-up phrase is next in the sequence. It is wisely to create one if you need to restore your account after forgetting your password or a back-up process.
However, it is not advisable to save the phrase on your computer or in the cloud. Your account may be vulnerable to hackers who are trying to gain access to your PC or malware which tries to steal credentials. Writing it on a piece of paper is advisable, as long as it is offline.
Confirm your secret back up phrase by clicking on the word boxes in a sequence that matches the phrase. After completing the verification, the sign-up process is complete, and your account is ready.
Buying ETH
Ultimately you will need to deposit Ether into your wallet to operate with the dApps on the Ethereum blockchain.
One of the significant buying options is the direct deposit. This option can transfer Ether from your other crypto accounts to the MetaMask wallet, if you want to deposit Ether.
When you click the Directly deposit Ether option, a menu with your Ethereum wallet address will pop up.
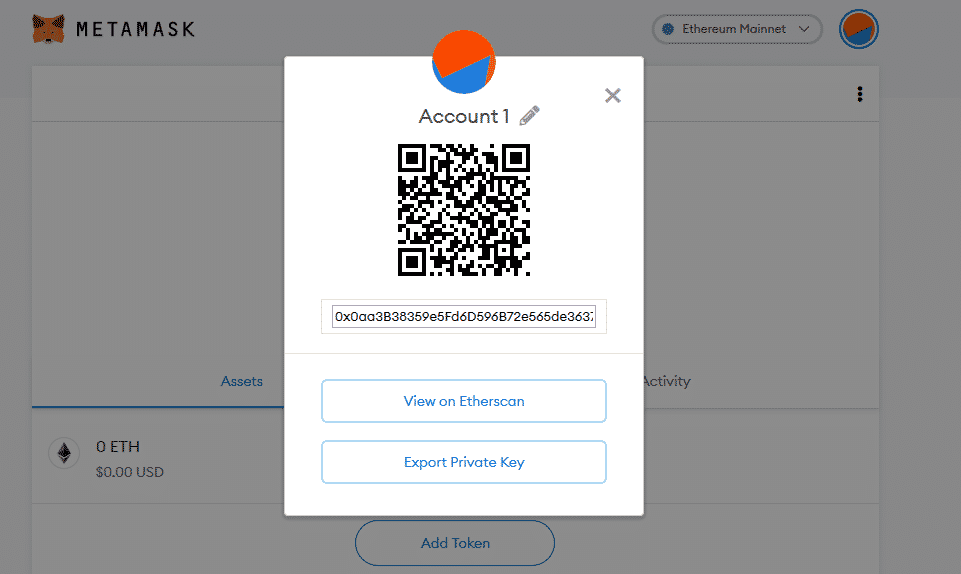
You first need to copy this address to your clipboard then paste it to the Send address slot of the crypto account from which you’re withdrawing the Ether. Or you can scan the QR code to transfer the funds to the destination MetaMask account.
Clicking on the orange fox logo is one way of checking whether the deposit was successful. Suppose you wish to track your transaction on Etherscan (Ethereum’s blockchain explorer). In that case, you can do so by clicking on the View on Etherscan icon.
You can also check our overview where to buy Ethereum.
Sending ETH
Once your wallet ETH, you can send it to other crypto accounts, crypto exchanges, or pay for online purchases. You need to click on the blue Send icon on the homepage of your application. The page will prompt you for the recipient’s address.
Once you enter the ETH receiver’s wallet address, a new menu with the currency type, the amount, and the transaction charges will pop up. By clicking on the arrows in the Amount slot, you can edit the amount of ETH you want to send. The ETH is converted to USD in real-time (based on the current Ethereum price) to help you conceptualize the amount of money you’re transferring.
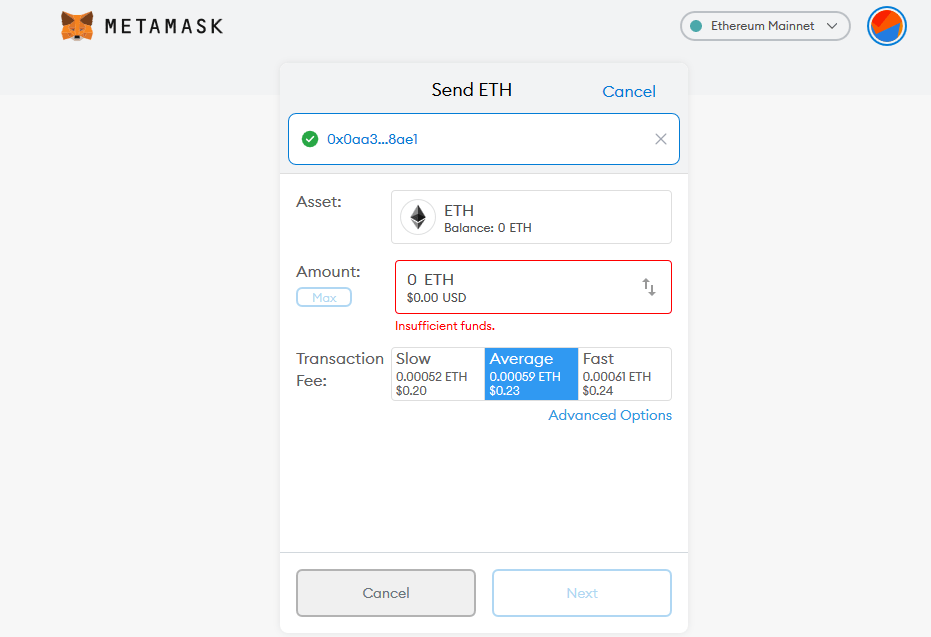
Interestingly, there’s an option to choose the transfer speed of your transaction. However, the three sending speeds, Slow, Average, and Fast, have different transaction fees. You are free to choose the one that best fits your budget. Miners will prioritize your transaction, whenever you add more gas.
Alternatively, you can use the Advanced Options to manually enter your preferred transaction fees, depending on the current gas fees. If you have enough funds to cater to the amount you want to send plus the transaction fees, the Next button becomes active.
To complete the transaction, you can hit the Send and Confirm buttons. If the transfer is successful, you will receive a confirmation notification in your extension menu.
The Token Swap Function
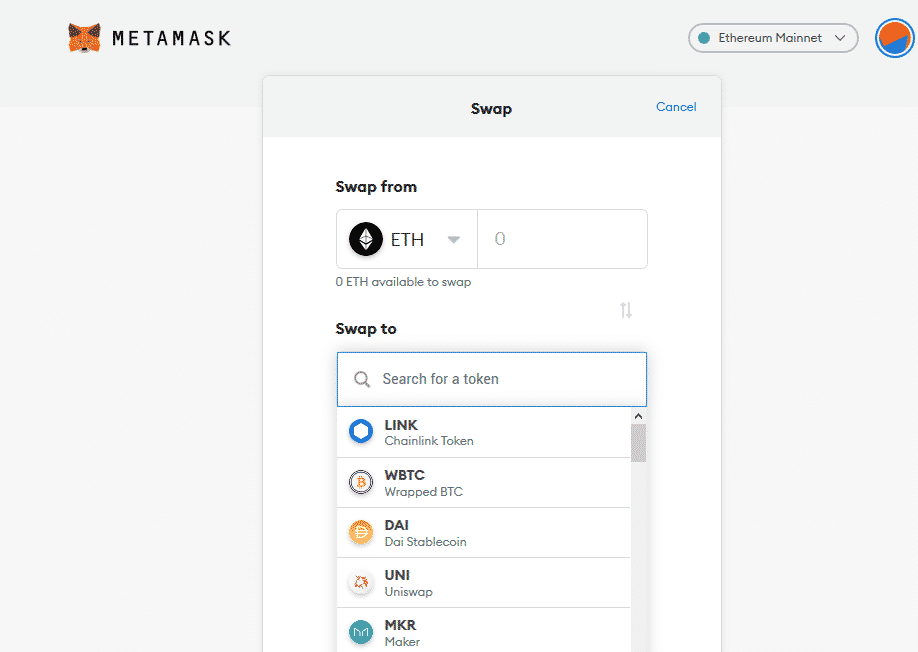
It’s possible to swap the ETH tokens with any other cryptocurrency ERC-20 token right from the MetaMask Menu. A click on the blue Swap icon pops up the swap menu. You can choose the cryptocurrency token you wish to Swap from and the one you would wish to Swap to.
Import (existing) Ethereum wallet
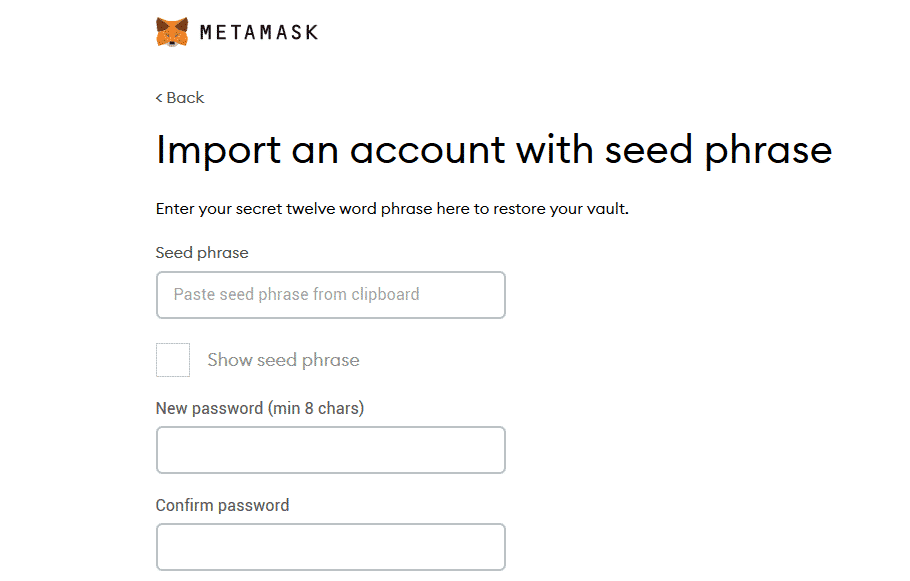
In case you’re logged out of your MetaMask account, you can always sign-in again by clicking on the MetaMask’s orange fox icon. Since you already created the application, you will click on the Import wallet icon.
However, you will require the 12-word seed phrase generated in the sign-up process. The password you created in the sign-up process will also complement to the seed phrase to regain your account access.
Navigation
Sylvanius Bell
11 August 2021 @ 21:50
If I purchased Etherum on your app, may I purchase FEG Tokens from there?
Also, can this be done with a VISA debit card?
Can Americans participate?